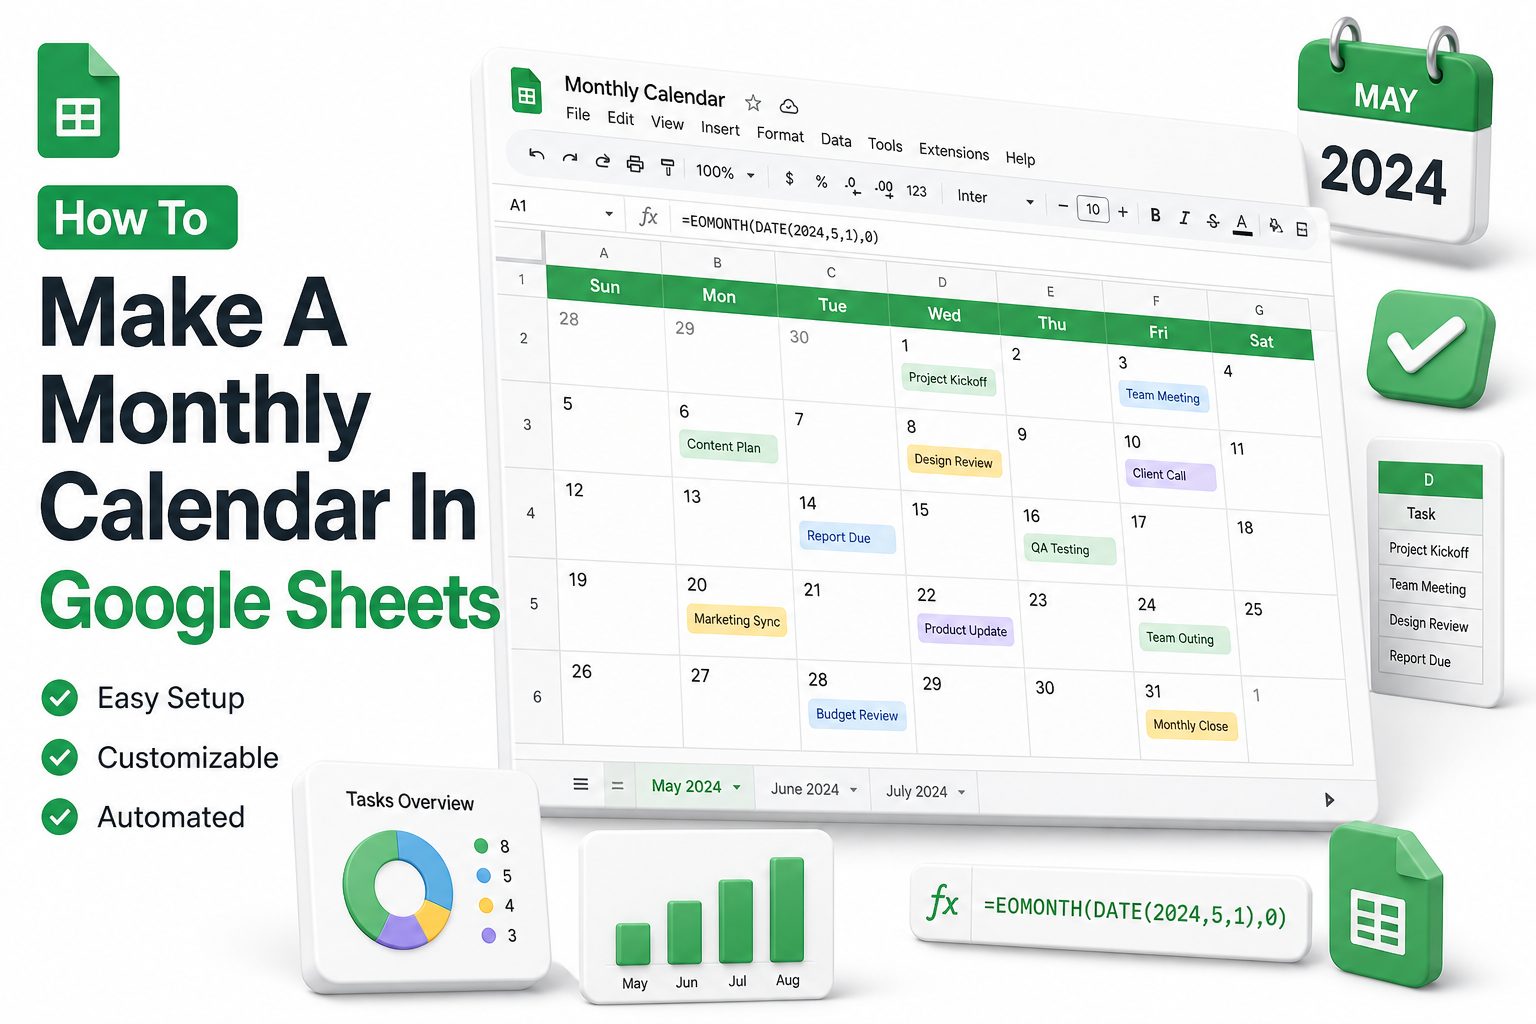
A monthly calendar can turn a blank spreadsheet into a practical planning tool for work, school, home projects, content schedules, or personal routines. If you have ever tried to keep dates organized across notes, emails, and separate apps, Google Sheets gives you a simple way to bring everything into one editable place.
Learning how to make a monthly calendar in google sheets is useful because the finished calendar is flexible, shareable, and easy to update. You can build a clean calendar from scratch, use formulas to automate dates, color-code important items, and collaborate with others in real time.
The best part is that you do not need advanced spreadsheet skills. With a few layout choices, basic formatting, and optional formulas, you can create a calendar that looks organized and works for your actual schedule. This guide walks through the full process step by step.
Why Google Sheets Works Well for Monthly Calendars
Google Sheets is a strong choice for monthly calendars because it combines structure with flexibility. Unlike a printed calendar, a spreadsheet can be edited at any time, shared with team members, and adjusted for different planning needs without starting over from scratch.
It also works well for people who already use Google Workspace. You can access your calendar from any device, add notes directly into date cells, and link related documents or task lists. For more planning ideas, see [Internal Link: Google Sheets productivity tips].
Plan the Calendar Layout Before You Start
Before adding dates, decide how you want the calendar to function. A simple personal calendar may only need dates and notes, while a work calendar may need space for deadlines, meetings, campaign names, and status labels.
Most monthly calendars use a seven-column layout with the days of the week across the top. This format feels familiar, keeps the month easy to scan, and leaves enough room inside each date cell for short reminders or task details.
Quick Planning Checklist
Use this checklist before building your calendar:
Choose the month and year you want to create.
Decide whether the week starts on Sunday or Monday.
List the types of events you plan to track.
Choose a clean color system for categories.
Decide whether you need formulas or manual date entry.
Leave enough room inside each date box for notes.
Create a Basic Monthly Calendar Grid
Open a new Google Sheets file and rename it with the month and year. A clear file name helps when you create future copies. You can also rename the sheet tab at the bottom to match the same month.
Next, create seven columns for the days of the week. Enter Sunday through Saturday, or Monday through Sunday, depending on your preference. Widen the columns evenly so the calendar looks balanced and each day has enough space for entries.
Format the Calendar Header
Use the top row for the month title. Merge cells across the seven calendar columns and type the month and year, such as “March 2027.” Increase the font size, make it bold, and center it so the calendar has a clear visual anchor.
Below the title, format the weekday row. Use bold text, center alignment, and a subtle background color. This makes the calendar easier to read and separates the header from the date boxes underneath.
Set Up Rows for Each Week
Most monthly calendars need five or six weekly rows. Select the rows beneath your weekday header and increase their height so each date box has enough vertical space. A taller row makes the calendar more useful for notes and short task lists.
Add borders around the full calendar area to create visible date cells. Use light gray borders for a clean look, or darker borders if the calendar will be printed. Keep the design simple so the content remains easy to read.
Basic Calendar Layout Table
Here is a simple structure you can follow:
Calendar Area | Recommended Setup
Title row | Merged across seven columns
Weekday row | Bold, centered, lightly shaded
Date rows | Five or six rows with increased height
Borders | Light grid borders around each day
Notes space | Inside each date cell
Colors | Used only for categories or priorities
Add Dates Manually for a Simple Calendar
The easiest way to build a monthly calendar is to type the dates manually. Find which weekday the first day of the month falls on, then enter “1” in the correct cell and continue numbering each date through the end of the month.
Manual entry works well for one-off calendars, printable planners, and simple personal schedules. It is also easier for beginners because you can focus on layout and formatting first before adding formulas or automation.
Use Formulas to Generate Calendar Dates
If you want a reusable calendar, formulas can save time. Start by entering the first day of the month in a helper cell, then use date formulas to fill the grid. This approach makes it easier to change the month later.
A common method is to use DATE, WEEKDAY, and simple addition formulas. Once the first date is placed correctly, each following cell can add one day to the previous date, creating a full calendar that updates when the starting month changes.
Helpful Formula Tips
Keep these formula tips in mind:
Use a separate helper cell for the first day of the month.
Format date cells to show only the day number.
Use formulas only where they make updates easier.
Hide helper rows or columns after setup.
Test the calendar by changing the month.
Keep a manual version if formulas feel unnecessary.
Format Dates So the Calendar Looks Clean
After dates are added, format the cells so only the day number appears. In Google Sheets, you can use custom date formatting to display the day without showing the full month, year, or weekday inside every cell.
Align the date number near the top left of each cell. This leaves the rest of the space available for notes, deadlines, or reminders. A consistent date position makes the calendar easier to scan quickly.
Add Color Coding for Better Organization
Color coding helps readers understand the calendar at a glance. For example, you might use one color for meetings, another for deadlines, another for personal appointments, and another for recurring tasks.
Avoid using too many colors because the calendar can quickly become hard to read. Choose four or five categories at most, and use soft background shades rather than bright colors that compete with the text.
Suggested Color Categories
Here is a practical color system:
Blue for meetings and appointments.
Green for completed or confirmed items.
Yellow for reminders and follow-ups.
Red for urgent deadlines.
Purple for content or marketing tasks.
Gray for holidays or unavailable days.
Add Events, Notes, and Task Details
Once the date grid is ready, you can begin adding calendar content. Keep entries short so each cell stays readable. Use line breaks inside cells to separate multiple items, especially when a date includes several tasks or appointments.
For busy schedules, place only the most important details directly in the calendar. Longer notes can go in a separate tab, with a short reference inside the date cell. This keeps the monthly view clean while preserving extra information.
Use Text Wrapping and Alignment
Turn on text wrapping for the calendar cells so longer entries stay inside each date box. Without wrapping, text may overflow into nearby cells and make the calendar harder to read.
Set vertical alignment to top and horizontal alignment to left. This makes each cell behave more like a small planning box. Readers can see the date first, then scan the notes underneath in a natural order.
Improve Readability with Consistent Styling
A good calendar should be easy to read before it looks decorative. Use one or two fonts, consistent spacing, and clear contrast between text and backgrounds. Too many styling choices can make the sheet look crowded.
Use bold text sparingly for important events or major deadlines. If everything is bold, nothing stands out. Keep normal entries plain and reserve stronger formatting for the items that need immediate attention.
Readability Tips
Use these small improvements for a cleaner calendar:
Keep date numbers in the same corner.
Use short event labels whenever possible.
Avoid filling every cell with dark colors.
Leave blank space around busy dates.
Use consistent capitalization for entries.
Make urgent items visually distinct but readable.
Create a Reusable Monthly Calendar Template
After you build a calendar you like, turn it into a template. Rename the file clearly, then make a copy whenever you need a new month. This saves time and keeps your planning system consistent.
A reusable template is especially helpful for content calendars, team schedules, class plans, and monthly reporting. You can keep the design, formulas, color categories, and notes structure ready for each new month.
Add a Month Selector for Faster Updates
If you are comfortable with formulas, add a month selector at the top of the sheet. You can use a cell where you enter the first date of the month, such as 3/1/2027, and formulas will update the calendar grid.
This setup turns your sheet into a dynamic monthly calendar. Instead of rebuilding the dates each month, you change one value and review the layout. It is a practical upgrade for anyone who uses calendars regularly.
Use Conditional Formatting for Dates and Events
Conditional formatting can highlight weekends, today’s date, deadlines, or specific keywords. For example, you can make cells containing “Due” appear red, or highlight weekends with a light gray background.
This feature is useful because it reduces manual formatting. Once the rules are set, Google Sheets applies the styling automatically based on the data in each cell. That keeps the calendar consistent as you edit it.
Common Conditional Formatting Ideas
Try these rules for a smarter calendar:
Highlight weekends with a pale background.
Mark today’s date with a border or fill color.
Turn deadline entries red.
Shade completed tasks green.
Flag cells containing “Urgent.”
Highlight holidays or office closures.
Build a Work Calendar in Google Sheets
A work calendar should prioritize clarity, deadlines, and accountability. Add project names, due dates, meeting blocks, and review periods directly into the monthly grid. If multiple people use the calendar, keep labels consistent.
You may also add a second tab for project details. The monthly view can show the date and short title, while the details tab includes owners, status, links, and notes. This approach works well for teams managing recurring deliverables.
Build a Content Calendar in Google Sheets
A content calendar needs more structure than a basic appointment calendar. Each date may include a blog post, social media campaign, email newsletter, video, or publishing deadline. Clear labels make the schedule easier to manage.
You can use color coding for content types and add internal links to drafts or briefs. For deeper editorial planning, connect your calendar to [Internal Link: Content calendar template] so related workflows stay organized.
Useful Content Calendar Fields
Consider tracking these items:
Publish date.
Content title.
Content type.
Writer or owner.
Status.
Target keyword.
Review deadline.
Final URL after publishing.
Add Holidays and Recurring Events
Holidays, paydays, billing cycles, reporting dates, and recurring meetings often shape a monthly schedule. Add these fixed items early so you can plan around them before filling the calendar with smaller tasks.
For recurring events, keep the wording consistent. For example, use “Team Meeting” every Monday instead of slightly different labels each week. Consistency makes filtering, searching, and scanning much easier later.
Use Separate Tabs for Extra Details
A monthly calendar can become cluttered if every detail lives in the date cells. Create separate tabs for event notes, task lists, project details, or contact information. Then keep the calendar itself focused on the main schedule.
This setup is especially useful for teams. One tab can show the monthly calendar, while another tracks assignments and status updates. The calendar remains clean, and the supporting details are still easy to find.
Tab Structure Example
A practical workbook might include these tabs:
Monthly Calendar for the main schedule.
Task Tracker for detailed action items.
Project Notes for context and comments.
Holiday List for fixed dates.
Category Key for color meanings.
Archive for past month copies.
Share the Calendar with Others
One advantage of Google Sheets is collaboration. Click the Share button and choose whether others can view, comment, or edit. For team calendars, editing access should be limited to people responsible for maintaining the schedule.
If many people need access, use comments for suggestions instead of allowing everyone to edit directly. This prevents accidental changes and keeps the calendar reliable. For sensitive schedules, review sharing settings regularly.
Protect Important Calendar Areas
If your calendar includes formulas, protect those cells so they are not accidentally overwritten. Google Sheets allows you to protect specific ranges while leaving event entry areas editable.
This is useful when sharing a calendar with a team. People can add notes and events, but the date formulas, headers, and layout remain intact. A protected template is easier to maintain over time.
Sharing and Protection Tips
Use these settings for better control:
Give view access to people who only need the schedule.
Give edit access only to calendar owners.
Protect formula cells and headers.
Use comments for suggested changes.
Review access at the end of each month.
Keep a backup copy of your template.
Make the Calendar Printable
If you plan to print your monthly calendar, adjust the sheet before printing. Set the print area to include only the calendar grid, choose landscape orientation, and scale the page so the full month fits neatly.
Check margins, gridlines, and font sizes in print preview. A calendar that looks good on screen may need small adjustments on paper. Keep colors light enough that printed text remains readable.
Optimize for Mobile Viewing
Many people check schedules from their phones, so mobile readability matters. Keep text short, avoid overly wide layouts beyond the seven calendar columns, and use clear labels that remain useful on a small screen.
If the calendar is too dense for mobile, add a separate list-view tab. This tab can show dates, events, owners, and statuses in rows, making it easier to review upcoming items without zooming into the monthly grid.
Common Mistakes to Avoid
One common mistake is making the calendar too decorative. Heavy colors, large fonts, and complex borders may look interesting at first, but they can make everyday use harder. A calendar should support planning, not distract from it.
Another mistake is adding too much information into each date cell. When entries become crowded, the monthly view loses its value. Use short labels in the calendar and move longer notes to a supporting tab.
Mistake Prevention List
Avoid these issues when building your calendar:
Too many color categories.
Text overflowing into nearby cells.
No clear month title.
Inconsistent event names.
Small rows with no writing space.
Unprotected formula cells.
No backup template.
Advanced Ideas for a Better Monthly Calendar
Once the basic calendar works, you can add improvements. Drop-down menus for event categories, status labels, priority tags, and owner names can make the sheet more organized without requiring complex tools.
You can also use filters in a supporting tab to review only certain event types. For example, a marketing team might filter by blog posts, email campaigns, or social posts while still using the monthly calendar as the main overview.
Connect the Calendar to Your Workflow
A calendar is most useful when it matches how you work. If you plan weekly, leave space for weekly goals. If you manage deadlines, make due dates stand out. If you coordinate a team, include owners and review stages.
Review the calendar at the start and end of each month. This habit helps you spot missed deadlines, prepare for busy weeks, and improve the template over time. A simple spreadsheet can become a reliable planning system when maintained consistently.
Workflow Enhancement Ideas
Add these features as your needs grow:
Drop-down menus for categories.
Status labels such as Draft, Review, and Done.
A notes tab for longer details.
Links to documents or project files.
A monthly review section.
A duplicate template for future months.
Conclusion
Creating a useful monthly calendar in Google Sheets is mostly about choosing a clear layout, formatting it well, and keeping the information easy to scan. Start with a simple seven-column grid, add the month title, place the dates, and format the cells so each day has enough room for notes.
From there, you can improve the calendar with formulas, conditional formatting, color categories, protected ranges, and supporting tabs. The right setup depends on whether you are planning personal tasks, work deadlines, content production, school schedules, or shared team projects.
Once you know how to make a monthly calendar in google sheets, you can reuse the same structure month after month. A clean template saves time, reduces planning friction, and gives you one dependable place to organize the dates and details that matter.
FAQ
Can I make a calendar in Google Sheets without formulas?
Yes, you can create a monthly calendar manually by typing the dates into a seven-column grid. This is the simplest option for one-time calendars, printable planners, or users who prefer full control over every cell.
How do I make Google Sheets calendar dates update automatically?
Use a helper cell for the first day of the month, then build date formulas around it. When you change the helper date, the calendar grid can update automatically for the new month.
Can I use Google Sheets as a shared team calendar?
Yes, Google Sheets works well for shared calendars. You can invite team members, set permission levels, use comments, protect formula cells, and create tabs for task details, owners, and project notes.
How do I make a Google Sheets calendar look professional?
Use consistent spacing, light borders, readable fonts, subtle colors, and clear alignment. Keep entries short, avoid heavy decoration, and use color coding only when it helps people scan the calendar faster.
Is Google Sheets better than Google Calendar for monthly planning?
Google Calendar is better for reminders and time-based appointments. Google Sheets is better for flexible planning, content schedules, project timelines, editorial calendars, and situations where you need custom fields or shared spreadsheet details.
0 Comments