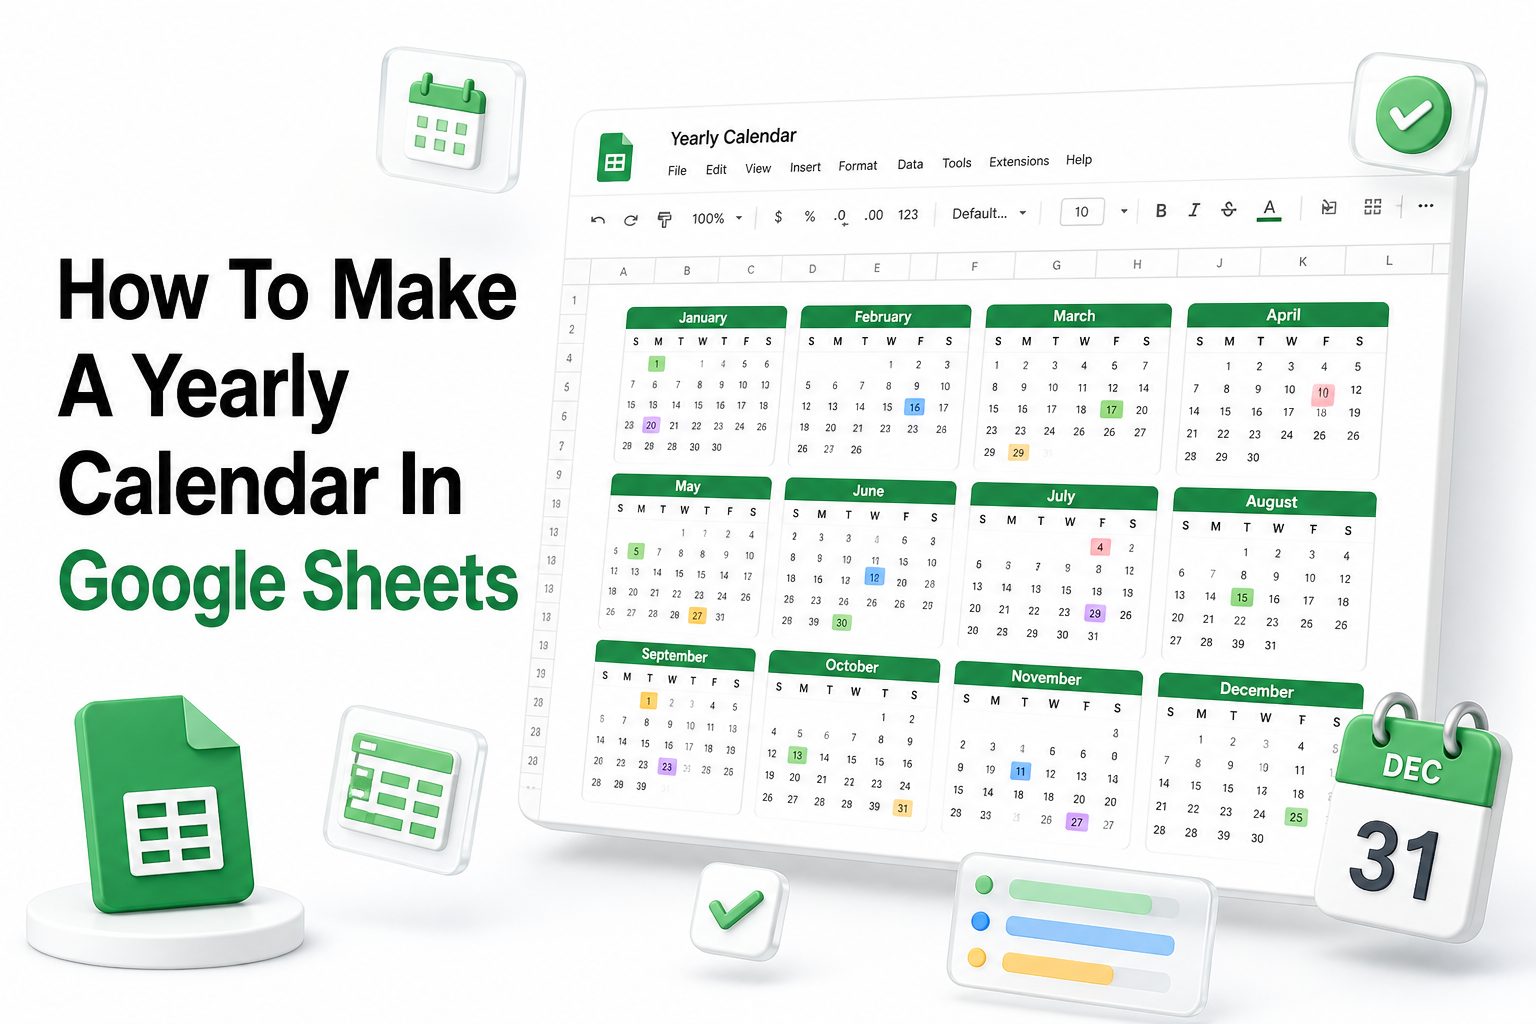
If you manage projects, school schedules, content plans, family events, or business deadlines, a yearly calendar can save you a lot of time. Google Sheets is one of the easiest tools for building one because it is flexible, shareable, and available from any device without installing extra software.
Learning how to make a yearly calendar in Google Sheets also gives you more control than using a static template. You can customize colors, add formulas, create monthly sections, mark holidays, track recurring events, and connect your calendar to other planning sheets. Whether you want a simple one-page annual view or a detailed planner with separate monthly tabs, Google Sheets can handle both. The best part is that once you build the structure, you can reuse it every year with small updates instead of starting from scratch.
Why Use Google Sheets for a Yearly Calendar
Google Sheets works well for yearly calendars because it combines spreadsheet logic with simple visual formatting. You can build a clean calendar grid, use formulas to update dates automatically, and share the file with coworkers, clients, family members, or students in a few clicks.
Unlike a printed calendar or basic document, a spreadsheet calendar can grow with your needs. You can add notes, filters, color labels, status columns, formulas, links, and supporting tabs. This makes it useful for planning content, budgets, meetings, campaigns, vacations, and long-term goals.
Choose the Right Yearly Calendar Layout
Before building anything, decide whether you need a one-page annual calendar, a 12-month grid, or separate monthly tabs. A one-page layout is best for quick reference, while monthly tabs are better for detailed scheduling and daily notes.
For most users, a 12-month layout inside one sheet is the best starting point. It gives a full-year view without becoming too complicated. You can still add extra tabs later for task lists, holiday references, event details, or content planning workflows.
Useful yearly calendar formats include:
- One-page annual overview for quick date checks
- Twelve mini monthly calendars on one sheet
- Separate tabs for each month of the year
- Calendar plus task tracker layout
- Editorial calendar with publish dates and topics
- Work schedule calendar with shifts and deadlines
- Academic calendar with terms, exams, and breaks
Set Up a New Google Sheets File
Open Google Sheets and create a blank spreadsheet. Rename the file clearly, such as “Yearly Calendar 2026” or “Annual Planning Calendar.” A clear file name helps when you search Drive later, especially if you plan to create new versions each year.
Next, rename the first sheet tab to “Year View” or “Annual Calendar.” If you plan to add separate month tabs, keep this first sheet as a summary page. This gives you one central place to review the whole year at a glance.
Add the Year and Month Labels
Place the calendar year at the top of the sheet in a large, readable cell. For example, type “2026 Yearly Calendar” in cell A1. Merge several cells across the top if you want the title centered above the full calendar layout.
Below the title, add month names in separate sections. You can arrange them in three rows of four months, four rows of three months, or one long vertical list. A three-by-four layout usually fits well on most screens and prints cleanly in landscape orientation.
Basic setup checklist:
- Create a blank Google Sheets file
- Rename the spreadsheet with the calendar year
- Add a clear title in the first row
- Choose a 3×4 or 4×3 month layout
- Add all twelve month names
- Leave enough space under each month for date rows
- Freeze the top row if you want the title visible while scrolling
Create Weekday Headers
Under each month name, add weekday labels from Sunday to Saturday or Monday to Sunday, depending on your preference. Use a consistent format across every month so the calendar is easy to scan and does not confuse users.
Many business calendars start on Monday, while personal calendars in the United States often start on Sunday. Choose the format your audience expects. If the calendar is for a team, confirm the preferred week start before adding formulas and formatting.
Build the Date Grid
Each month needs a seven-column grid for weekdays and five or six rows for dates. Some months span six calendar weeks depending on which weekday the month starts and how many days it contains, so leave enough vertical space.
For a manual version, type dates into the correct cells for each month. This is simple but slow to update each year. For a smarter calendar, use date formulas so the layout can adjust when you change the year in one cell.
Manual vs Formula-Based Calendar
Format: Manual Calendar
Best for: One-time personal use
Pros: Easy to create, no formula knowledge needed
Cons: Must be rebuilt or edited every year
Format: Formula-Based Calendar
Best for: Reusable annual planners
Pros: Updates automatically when the year changes
Cons: Takes more setup time
Format: Template-Based Calendar
Best for: Fast setup
Pros: Quick and visually polished
Cons: May need cleanup or customization
Use Formulas to Generate Dates
To make the calendar easier to reuse, enter the year in one dedicated cell, such as B1. Then use formulas that refer to that year. This lets you update the entire calendar by changing one value instead of editing every month manually.
A common approach is to use DATE, WEEKDAY, SEQUENCE, and IF formulas. These functions can calculate the first day of a month, place dates under the correct weekday, and hide dates that belong to the previous or next month.
Keep the Formula Structure Simple
You do not need advanced spreadsheet skills to make a yearly calendar in Google Sheets. Start with one month, test the date behavior, then copy the structure for the other months. Building one reliable calendar block is easier than fixing twelve broken ones later.
For example, January can use the year cell and month number one. February uses the same structure with month number two. This pattern keeps formulas predictable, which matters when you need to troubleshoot or adjust the calendar next year.
Apply Clean Calendar Formatting
Formatting makes the calendar easier to read and use. Add borders around the date cells, bold the month names, center the weekday labels, and increase row height so each date cell has enough room for notes or short event names.
Avoid heavy colors across the whole sheet. A clean calendar usually works better with neutral borders, bold headings, and a few accent colors for categories. Too many colors can make the calendar harder to scan, especially when printed.
Use Colors for Events and Categories
Color coding is one of the biggest advantages of building a calendar in Google Sheets. You can assign different colors to holidays, meetings, launches, vacations, payment dates, or school events. Keep the system simple so users remember what each color means.
Create a small legend near the top or side of the sheet. For example, blue can mean meetings, green can mean deadlines, orange can mean travel, and red can mean important dates. A legend prevents confusion when several people use the same calendar.
Formatting tips for a cleaner calendar:
- Use bold text for month names only
- Keep weekday headers in a subtle background color
- Add thin borders around date cells
- Use consistent row heights across all months
- Keep category colors limited to five or fewer
- Add a legend for event colors
- Test print view before finalizing the layout
Add Holidays and Important Dates
Once the calendar grid is ready, add holidays, company closures, birthdays, anniversaries, project milestones, or school breaks. Put short labels inside date cells and use comments or notes for extra details instead of crowding the calendar.
If you manage a business calendar, include industry-specific dates as well. Retail teams may add seasonal sales periods, while marketers may add campaign launches. Educators may include grading deadlines, parent meetings, and exam windows.
Create a Separate Holiday Reference Tab
A holiday reference tab keeps the main calendar clean. Add columns for date, holiday name, country or region, and category. This makes it easier to update holidays each year without manually searching through the calendar layout.
You can also use this tab as a source for conditional formatting or lookup formulas. If a date appears in the holiday list, Google Sheets can highlight it automatically. This method is helpful for calendars used by teams in different locations.
Add Conditional Formatting
Conditional formatting lets Google Sheets automatically change cell colors based on rules. You can highlight weekends, today’s date, holidays, deadlines, or overdue tasks. This makes your calendar more useful without requiring constant manual formatting.
For example, you can highlight Saturdays and Sundays in light gray, mark today’s date in yellow, and highlight important deadlines in red. These visual cues help users find key dates quickly, especially in a dense yearly calendar.
Use Data Validation for Event Types
Data validation is useful when you want a consistent event system. Create a dropdown list with options such as Meeting, Deadline, Vacation, Holiday, Launch, and Personal. This keeps event labels tidy and reduces spelling differences across the sheet.
Dropdowns are especially helpful for shared calendars. If five people enter events manually, categories can become messy fast. A controlled list keeps reporting, filtering, and color coding more reliable.
Smart features to add:
- Highlight today’s date automatically
- Shade weekends with conditional formatting
- Use dropdowns for event categories
- Add notes for longer event details
- Link calendar dates to project sheets
- Create a holiday reference tab
- Protect formula cells from accidental edits
Make Separate Monthly Tabs
If your yearly calendar needs more detail, create separate tabs for each month. The annual view can show major dates, while monthly tabs can hold daily schedules, task lists, event notes, campaign plans, or shift assignments.
This setup works well for content teams, operations managers, schools, and small businesses. Users can scan the annual calendar first, then open a monthly tab when they need more detail. It keeps the main view clean while preserving deeper planning space.
Link the Annual View to Monthly Tabs
You can link each month name in the annual calendar to its matching monthly tab. Right-click the month title, choose insert link, and select the correct sheet tab. This small touch makes the calendar feel more organized and easier to navigate.
Internal navigation matters when a spreadsheet has many tabs. Clear links reduce scrolling and tab hunting. For larger planning systems, you can also add a small menu section with links to holidays, tasks, budgets, and reports.
Use a Template When Speed Matters
Google Sheets templates can help if you need a calendar quickly. You can search the template gallery or use a downloadable yearly calendar template from a trusted source. After opening it, customize the year, colors, categories, and sharing settings.
Templates are useful, but they are rarely perfect for every workflow. Check formulas, print settings, date formats, and protected ranges before using a template for business planning. A few minutes of cleanup can prevent confusion later.
Customize Templates Carefully
When editing a template, avoid deleting hidden formulas or merged cells without checking how the layout works. Some templates use formulas across several cells, and removing one section can break the entire month or year view.
Make a duplicate before major edits. Keep the original template untouched, then customize a working copy. This gives you a fallback if the layout breaks or if you want to compare your changes with the original design.
Template customization checklist:
- Change the year first
- Confirm every month displays correct dates
- Replace sample events with your own
- Update color legends and category names
- Check formulas before deleting rows or columns
- Review print settings and page breaks
- Save a backup copy before large edits
Prepare the Calendar for Printing
If you want a printed version, open print settings and choose landscape orientation. Adjust margins, scale the sheet to fit the page, and check page breaks. A yearly calendar often needs careful spacing to print clearly.
For a one-page annual view, keep event text short and avoid large fonts. If you need more writing space, print each month on a separate page. Google Sheets gives you enough print controls to create both compact and detailed versions.
Make the Calendar Easy to Share
Sharing is one of the main reasons to build a calendar in Google Sheets. Click Share, add email addresses, and choose whether users can view, comment, or edit. Use viewer access for reference calendars and editor access for active planning.
For teams, protect formula cells and header areas before sharing edit access. This prevents accidental changes to the calendar structure. You can still allow users to edit event cells, notes, categories, and supporting tabs.
Connect the Calendar to Planning Workflows
A yearly calendar becomes more valuable when it connects to your actual work. You can link dates to project plans, content briefs, budget sheets, task trackers, or meeting notes. This turns the calendar into a planning hub instead of a static date grid.
For example, a marketing team can link campaign launch dates to content briefs. A school administrator can connect term dates to staffing sheets. A freelancer can connect invoice dates to a payment tracker. For more planning ideas, see [Internal Link: Google Sheets project planning templates].
Use Calendar Data for Tracking
If you add structured columns for event type, owner, status, and priority, you can track calendar items more easily. This is useful when your yearly calendar supports recurring business tasks rather than simple reminders.
You can also create a separate “Events” tab and use formulas to display items on the calendar. This approach is more advanced, but it makes filtering and reporting easier. It works well for editorial calendars and operations schedules.
Calendar workflow ideas:
- Link deadlines to project trackers
- Add owners for team accountability
- Track event status with dropdowns
- Connect launch dates to campaign briefs
- Use a separate events database tab
- Add priority labels for major dates
- Review the calendar during weekly planning meetings
Avoid Common Calendar Mistakes
One common mistake is trying to put too much information inside each date cell. A yearly calendar should be easy to scan. Use short labels in the calendar and place detailed notes in comments, linked documents, or a separate event table.
Another mistake is overusing merged cells. Merged cells can make formatting harder, especially when copying calendar blocks or applying formulas. Use them only for month titles or major section headers, and keep the date grid clean.
Check Date Accuracy Before Use
Always verify that the first day of each month appears under the correct weekday. This is especially important if you build the calendar manually or adapt a template from another year. One wrong weekday can throw off the entire month.
Check leap years as well. February has 29 days in leap years, so formula-based calendars should account for that automatically. If your calendar is manual, confirm February carefully before sharing or printing the final version.
Maintain and Reuse the Calendar Each Year
Once your calendar works, save a clean master copy. At the start of a new year, duplicate the file, update the year cell or date formulas, and review holidays, recurring events, and category labels. This saves time every planning cycle.
A reusable calendar also helps maintain consistency across teams. If everyone uses the same structure each year, reporting and planning become easier. You can also create a standard operating process around updating dates, reviewing events, and archiving old calendars.
Keep a Version History
Google Sheets automatically stores version history, but it is still helpful to name important versions. Use names such as “Before formula update” or “Final 2026 planning calendar.” This makes it easier to restore the file if someone makes unwanted changes.
For shared calendars, review version history after major planning sessions. If a formula, tab, or event list disappears, you can trace what changed and recover the earlier version. This is another reason Google Sheets works well for collaborative yearly planning.
Maintenance tips for long-term use:
- Save a clean master calendar
- Duplicate the file for each new year
- Update holidays and recurring dates annually
- Review formulas after changing the year
- Name important versions in version history
- Archive old calendars in a Drive folder
- Link related planning sheets for easy access
Conclusion
Building a yearly calendar in Google Sheets gives you a flexible planning system that can be as simple or detailed as your work requires. You can start with a blank sheet, choose a practical layout, add month and weekday labels, build date grids, and improve the calendar with formulas, colors, dropdowns, and conditional formatting.
The best approach depends on how you plan to use it. A one-page annual view is ideal for quick reference, while separate monthly tabs work better for detailed scheduling. Templates can save time, but a custom calendar gives you more control over structure and workflow. Once your layout is working, save a master copy so you can reuse it year after year with small updates. If you want a planner that is easy to share, edit, print, and connect to other work, learning how to make a yearly calendar in google sheets is a practical skill worth having.
FAQ
Can I make a yearly calendar in Google Sheets without formulas?
Yes, you can build a calendar manually by typing dates into a grid. This works for simple personal use, but formulas are better if you want to reuse the calendar each year with less editing.
What is the best layout for a yearly Google Sheets calendar?
A three-by-four month layout works well for most yearly calendars. It shows all twelve months clearly, fits landscape print settings, and gives enough room for short event labels or important notes.
Can Google Sheets highlight holidays automatically?
Yes, you can use conditional formatting with a holiday list on another tab. When a calendar date matches the holiday list, Google Sheets can apply a color automatically to mark it.
Is it better to use a template or build from scratch?
Use a template if you need a fast result. Build from scratch if you want full control over formulas, categories, colors, monthly tabs, and planning workflows tailored to your needs.
Can I share my yearly calendar with a team?
Yes, Google Sheets makes sharing simple. You can give team members view, comment, or edit access. For shared editing, protect formula cells so the calendar structure does not get changed accidentally.
0 Comments